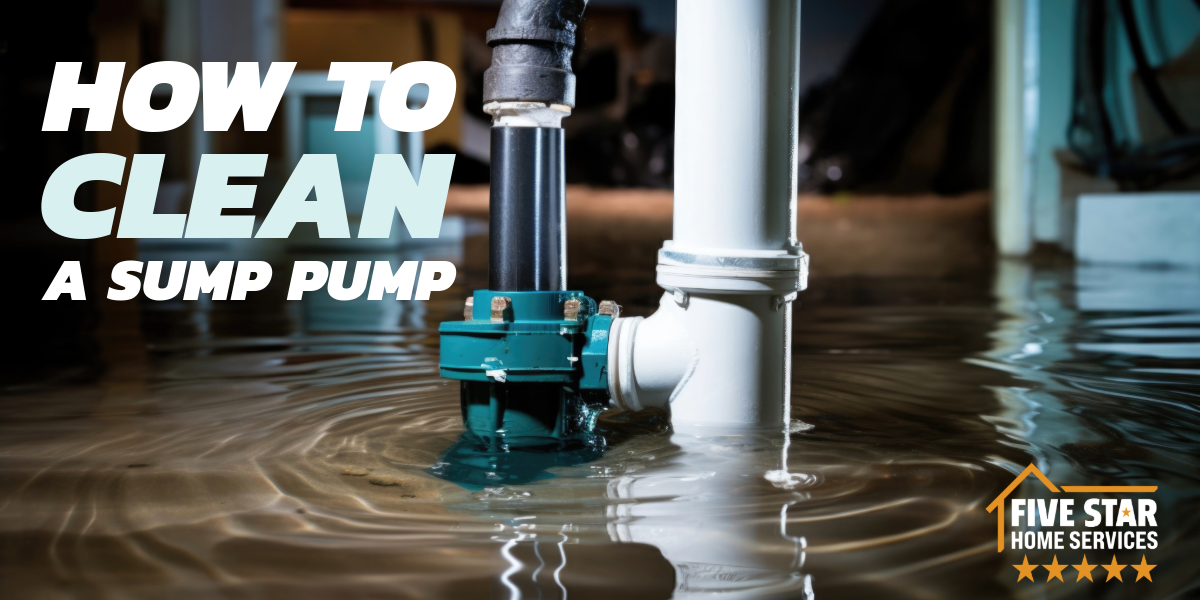
Sump pumps play an essential role in protecting your basement from flooding. This cannot be overstated! Sump pumps are vital components in our homes.
Nevertheless, regular maintenance from a professional is essential to ensure the optimal performance of a sump pump. Cleaning your sump pump prolongs the unit’s lifespan and keeps it functioning efficiently. In this step-by-step guide, we at Five Star Home Services will walk you through cleaning your sump pump, providing valuable tips for homeowners and DIY enthusiasts.
Step 1: Gathering All the Necessary Materials & Tools
Before we begin cleaning, you must ensure you have the right tools and materials. You’ll need a pair of gloves, a screwdriver, a hose, a bucket, and a cleaning solution recommended by the manufacturer.
Step 2: Turn off the Power and Disconnect the Pump
Your safety should always be the top priority. Before cleaning the sump pump, turn off the power supply and unplug the pump from the electrical outlet. This step prevents any accidents or injuries during the cleaning process.
Step 3: Remove the Pump from the Pit
Carefully lift the sump pump from the pit, ensuring it does not damage the float switch or other components. Place it on a flat surface nearby for easy access during cleaning.
Step 4: Clean the Pump and Impeller
Using a damp cloth and the cleaning solution, gently clean the exterior surfaces of the pump. Pay extra attention to the impeller; it pumps water out of the pit. Remove any debris or sediment that may have accumulated, ensuring it doesn’t obstruct the impeller’s movement.
Step 5: Clear the Discharge Pipe and Check Valve
Inspect the discharge pipe and check the valve for obstructions, such as debris, such as leaves, dirt, or small rocks. These things tend to accumulate over time, hindering the flow of water. Clear any blockages using a hose or pipe brush. Then, make sure the water can flow freely through the discharge pipe.
Step 6: Inspect and Reassemble the Pump
Take a moment to inspect the pump for any signs of wear or damage. Check the power cord, float switch, and other components to ensure they are in good condition. Once everything is inspected, reassemble the pump, following the manufacturer’s instructions.
Step 7: Test the Pump
Now that you’ve cleaned and reassembled the pump, it’s time to test its functionality. Fill the sump pit with water, ensuring the float switch rises and the pump is activated. Observe the pump as it removes water from the pit, checking for any irregularities or unusual noises. If everything works correctly, congratulations on a job well done!
Maintenance Tips and Best Practices
To keep your sump pump in optimal condition, here are some additional tips and best practices:
- Regularly check the sump pump’s operation by pouring water into the pit and ensuring it activates appropriately.
- If applicable, test the backup power source to ensure it functions during power outages.
- Install a battery-operated backup sump pump for additional protection.
- Keep the sump pit clean by removing any debris that may accumulate over time.
- Schedule annual maintenance with a professional to inspect and service your sump pump.
Need Help With Your Sump Pump? Call Five Star Home Services Today!
As we have discussed, cleaning your sump pump is an essential part of regular maintenance that shouldn’t be overlooked. By following this step-by-step guide, you can ensure your sump pump continues to protect your basement from potential flooding. Remember, a clean and well-maintained sump pump performs more efficiently, providing peace of mind during heavy rains or melting snow. Take the time to clean your sump pump regularly, and it will continue to serve you for years to come.
Nevertheless, if you need professional sump pump services in Greater Columbus, Greater Dayton, Greater Cincinnati, or surrounding areas, you are encouraged to call Five Star Home Services anytime! We have master plumbers on staff who are experts at sump pump care! Call us today at (833) 405-8009!

